The Ultimate Guide to Baking the Best Homemade Apple Pie
There are few aromas as comforting and inviting as a freshly baked
homemade apple pie filling your kitchen. It's more than just a dessert; it's a symbol of warmth, tradition, and pure indulgence. While the thought of baking an apple pie from scratch might seem daunting to some, mastering this fall classic is an incredibly rewarding experience. This comprehensive guide will walk you through every step, from selecting the perfect medley of apples to crafting a truly flaky crust, ensuring your homemade apple pie becomes a beloved staple in your family's culinary repertoire. Get ready to transform simple ingredients into an extraordinary treat that will have everyone asking for seconds – and maybe even a slice for breakfast!
Selecting Your Stars: The Best Apples for Homemade Apple Pie
The heart of any exceptional
homemade apple pie lies in its filling, and that starts with choosing the right apples. The secret to a complex, well-textured pie is to use a blend of different apple varieties. Why a blend? Because apples vary greatly in their sweetness, tartness, and how well they hold their shape during baking. Combining them ensures a deeper flavor profile and prevents a uniformly mushy filling.
When selecting apples, aim for a mix that offers:
*
Varying Textures: Some apples will soften considerably, while others remain firm, providing delightful textural contrast.
*
Balanced Flavor: A combination of tart and sweet apples creates a more nuanced taste that prevents the pie from being overly sugary or too sharp.
Here are some top contenders and how to use them, drawing from generations of pie-making wisdom:
- Granny Smith: The quintessential tart apple for pies. Its sharp flavor brightens the entire filling. However, Grannies can turn quite soft when cooked, so limit them to no more than one-third of your total apple volume (e.g., 2 Grannies in a pie with 6-8 apples) to maintain texture.
- Jonagold: A delightful cross between Golden Delicious and Jonathan. Jonagolds offer a beautiful balance of sweet and tart with an aromatic quality. They hold their shape exceptionally well, making them a fantastic base apple.
- Fuji: Known for its crispness, Fuji apples are firm, juicy, and offer a balanced sweet-tart profile. They maintain their structure beautifully during baking.
- Golden Delicious: A sweeter option that bakes up firm. It adds a lovely mellow sweetness and helps provide a softer counterpoint to tarter, firmer varieties without disintegrating.
- Braeburn: Crisp and sweet with a hint of tartness, Braeburns bake up firm and juicy, contributing excellent texture.
- Cortland: Juicy and tart, Cortlands are relatively soft but versatile. They're a great all-purpose apple that helps thicken the filling slightly.
- Honeycrisp: As the name suggests, these apples are sweet with a pleasant tart kick. They are incredibly crisp and hold their shape, adding a delightful crunch to the cooked filling.
Apples to Avoid: While delicious for snacking, varieties like Red Delicious don't fare well in pies, often becoming mealy and losing their flavor when cooked.
For the best results, experiment with combinations like 2 parts firm-sweet (Jonagold, Fuji, Honeycrisp), 1 part firm-tart (Braeburn), and 1 part soft-tart (Granny Smith, Cortland). This thoughtful blend is a cornerstone for creating the best
homemade apple pie. To dive deeper into apple selection, check out our guide on
Choose Your Apples: Guide to the Best Varieties for Apple Pie.
Achieving Pie Crust Nirvana: Secrets to a Flaky Homemade Foundation
A truly great
homemade apple pie demands a spectacular crust. Forget soggy bottoms or tough edges; we're aiming for a golden, tender, and irresistibly flaky shell that crumbles delicately with every bite. While store-bought crusts offer convenience, the unparalleled taste and texture of a scratch-made crust are well worth the effort.
The key to flakiness lies in cold ingredients and minimal handling. Many expert bakers swear by a crust that incorporates both butter and a secret ingredient like sour cream. The butter creates pockets of steam that result in layers, while sour cream adds a subtle tang, enriches the dough, and contributes to a tender, easy-to-work-with texture.
Tips for a Flawless Pie Crust:
- Keep Everything Cold: This is paramount! Use very cold butter (cut into small pieces), ice water, and even chill your flour. Cold fat creates steam pockets that separate the layers, yielding that coveted flakiness.
- Don't Overwork the Dough: Mix just until the ingredients come together. Over-mixing develops gluten, which leads to a tough crust. You want visible pieces of butter throughout the dough.
- Chill Your Dough: After forming your dough into disks, wrap them tightly and refrigerate for at least 30 minutes, or even a day or two ahead. Chilling allows the gluten to relax, makes the dough easier to roll, and prevents shrinkage during baking. Remove the dough from the fridge 10-15 minutes before rolling to allow it to soften slightly, but not become warm.
- Roll Evenly: Use a lightly floured surface and rolling pin. Roll from the center outwards, rotating the dough frequently to prevent sticking and ensure an even thickness.
If you prefer an all-butter crust, the principles of cold ingredients and gentle handling still apply. Whichever recipe you choose, preparing your crust dough ahead of time is a brilliant strategy, easing the pie-making process on baking day.
From Prep to Perfection: Essential Tips for Baking Your Homemade Apple Pie
With your apples selected and your crust ready, it's time to bring your
homemade apple pie to life. This stage involves combining your ingredients and employing smart baking techniques to ensure a perfectly cooked, golden-brown masterpiece.
Crafting the Filling:
Once your apples are peeled, cored, and sliced, mix them with your chosen spices. Cinnamon is a must, but consider adding a touch of nutmeg, allspice, or cloves for depth. Sugar, flour or cornstarch (to thicken the juices), and a splash of vanilla extract are standard additions. A secret ingredient some bakers swear by is a tablespoon or two of brandy; it subtly enhances the apple flavor without making the pie taste alcoholic. Ensure all ingredients are evenly distributed, coating the apple slices thoroughly.
Assembly and Baking:
1.
Line Your Pie Plate: Carefully transfer one disk of chilled pie dough to your pie plate. Trim and crimp the edges as desired.
2.
Add the Filling: Pile your apple mixture high into the crust. Apples cook down significantly, so a generous mound is key to a full pie.
3.
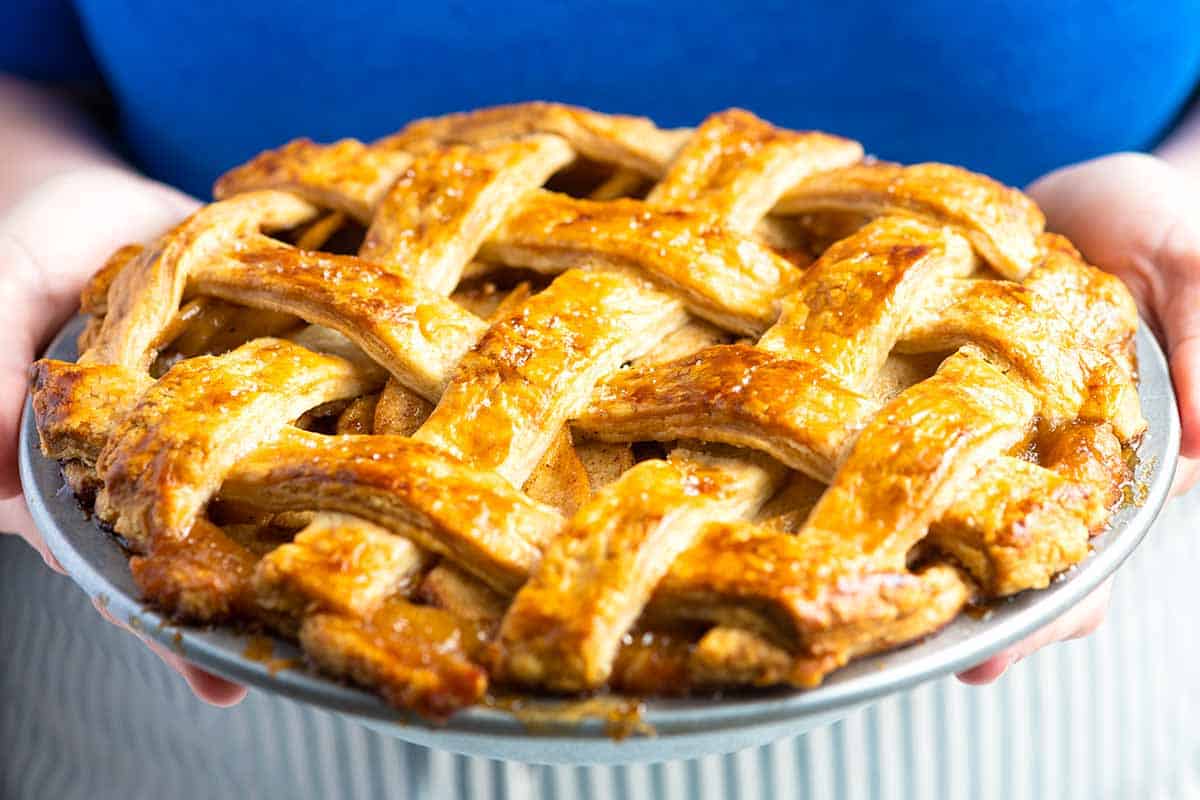
Top It Off: Place your second crust over the filling. You can create a classic double crust, a decorative lattice, or simply cut vents into the top to allow steam to escape. Seal the edges, trim any excess, and crimp them securely. For a golden finish, an egg wash (beaten egg with a splash of water) brushed over the top crust adds shine and helps achieve a beautiful color. A sprinkle of coarse sugar on top is also a lovely touch.
4.
Prepare for Spills: Always place your pie on a baking sheet before putting it in the oven. This catches any bubbling juices that might overflow, saving you from a messy oven cleanup.
5.
Bake Until Bubbling: Bake your
homemade apple pie at the recommended temperature (often starting higher and then reducing) until the crust is golden brown and, crucially, the juices are visibly bubbling through the top vents or lattice. This bubbling indicates that the filling has reached a high enough temperature to cook the apples and thicken properly. If you have an instant-read thermometer, insert it into the center of the pie; a reading of 200°F (93°C) ensures doneness.
6.
Prevent Over-Browning: If your crust starts to brown too quickly before the filling is cooked, simply tent the pie loosely with aluminum foil.
7.
Patience is Key: Once out of the oven, resist the urge to cut into your pie immediately! It needs to cool for at least 2-4 hours, or even longer, to allow the filling to set completely. Slicing too soon will result in a runny, messy pie.
For more in-depth techniques on both crust and filling, refer to our article on
Homemade Apple Pie Tips: Master Flaky Crust and Juicy Filling.
Serving Your Homemade Apple Pie: The Grand Finale
After all your diligent work, the moment arrives to present your magnificent
homemade apple pie. There's truly nothing quite like a warm slice, its sweet, spiced aroma inviting everyone to gather round.
While a slice of apple pie is glorious on its own, it truly shines when paired with certain accompaniments. A generous scoop of creamy vanilla bean ice cream is a classic for a reason – the cold, melting richness against the warm, tender fruit is pure bliss. Other delightful options include a dollop of freshly whipped cream, a drizzle of caramel sauce, or even a slice of sharp cheddar cheese, a traditional pairing that offers a surprising and delicious savory contrast.
And don't forget the joy of leftovers! A slice of
homemade apple pie for breakfast the next day, perhaps slightly warmed, is a simple luxury that extends the comfort and pleasure of your baking efforts.
Baking a
homemade apple pie is more than just following a recipe; it's an act of love, a connection to tradition, and a journey into the heart of comforting flavors. By paying attention to the quality of your ingredients, understanding the science behind a flaky crust, and patiently following proven techniques, you will undoubtedly create a pie that tastes as wonderful as it smells. So roll up your sleeves, embrace the process, and prepare to bake the best apple pie your family has ever tasted!